Thirty-six views of sizing with Mark II
Featuring: David Bull and Lee Yasuhiro
In May 2017 I was in Japan for a wonderful three-week holiday. During that time I visited the Mokuhankan shop of David Bull in Asakusa (Tokyo) several times. On the evening of May 22 (the last day of my holiday) Dave, Lee-san and I went out for a very enjoyable dinner together. We then came back to Mokuhankan where Dave and Lee-san took turns sizing a batch of thirty-six sheets of washi, handmade Japanese paper. Here are some of the pictures I made of the process.
|
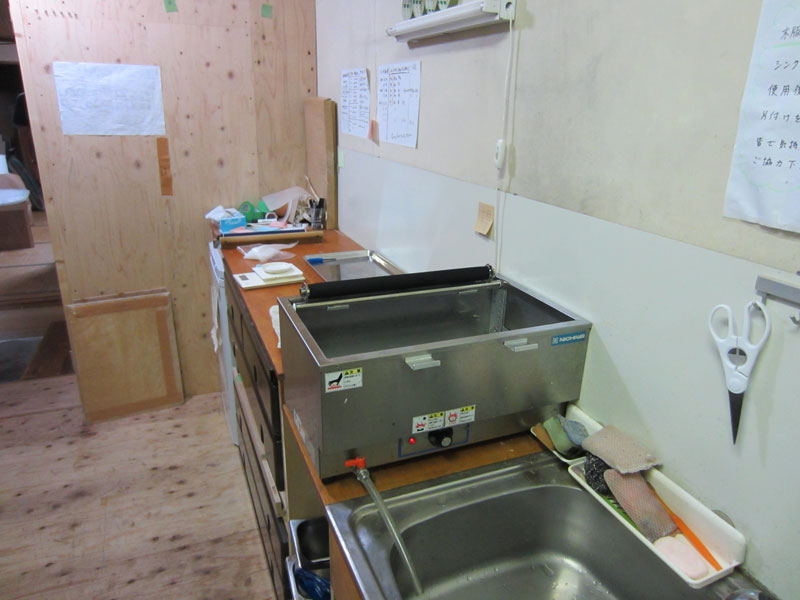
The sizing of the paper is done in the kitchen on the third floor of the Mokuhankan building using Mark II, a sizing machine designed and built by Dave and Lee-san. Mark II is the next step-up from Mark I, the first sizing machine designed by Dave as discussed on his website here.

|
On the kitchen wall is pinned a note keeping track of the dates and of the amounts of 水 (mizu, water), ニカワ (nikawa, glue) and ミョウバン (myōban, alum) used in preparing the ドーサ (dōsa, size) on these dates.
Concerning the amounts mentioned in the glue and alum columns on this note, this is what Dave posted on June 18 2017 on his Mokuhankan facebook page: “... those numbers are ‘per litre’ values. A nikawa amount of between 40~60 grams is what we most commonly use - the lower numbers during the winter, gradually increasing as the weather gets warmer. The alum holds basically steady at around 15% of the nikawa amount.”

|
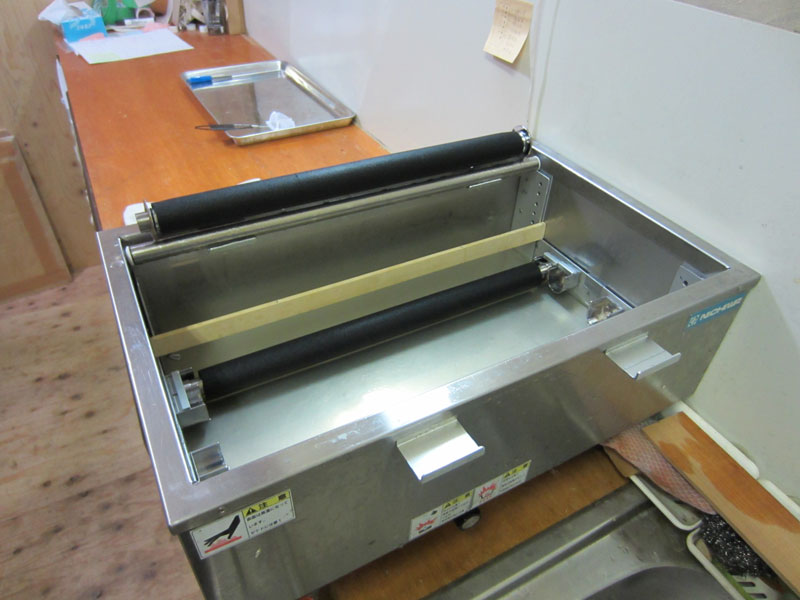
This is a close-up of Mark II.

|
Thirty-six sheets of washi are ready for sizing; to each sheet a piece of plastic has been attached, for reasons explained below.
|
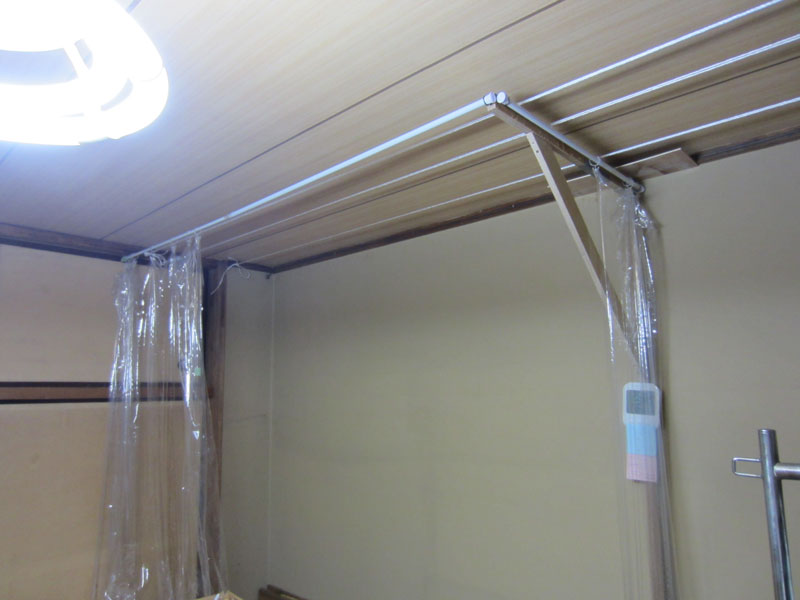
The drying area with drying lines is located next to the kitchen, also ready for use.
|
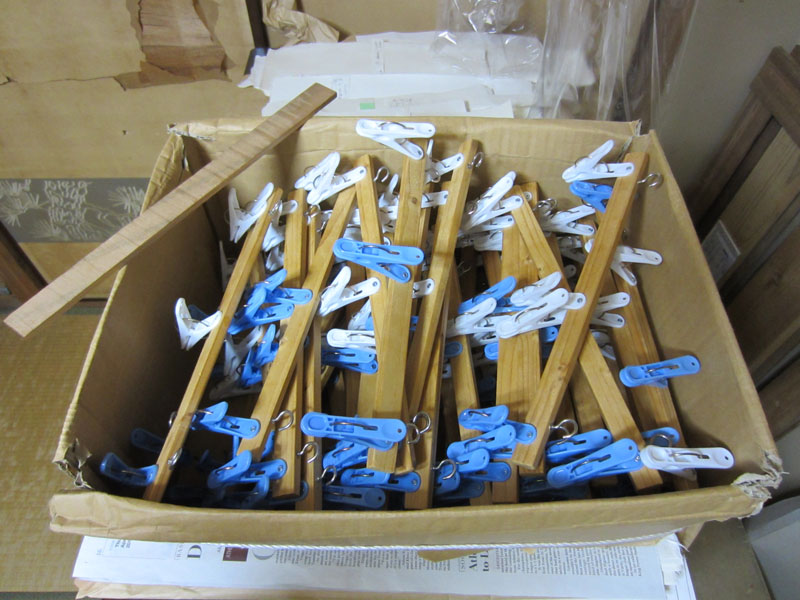
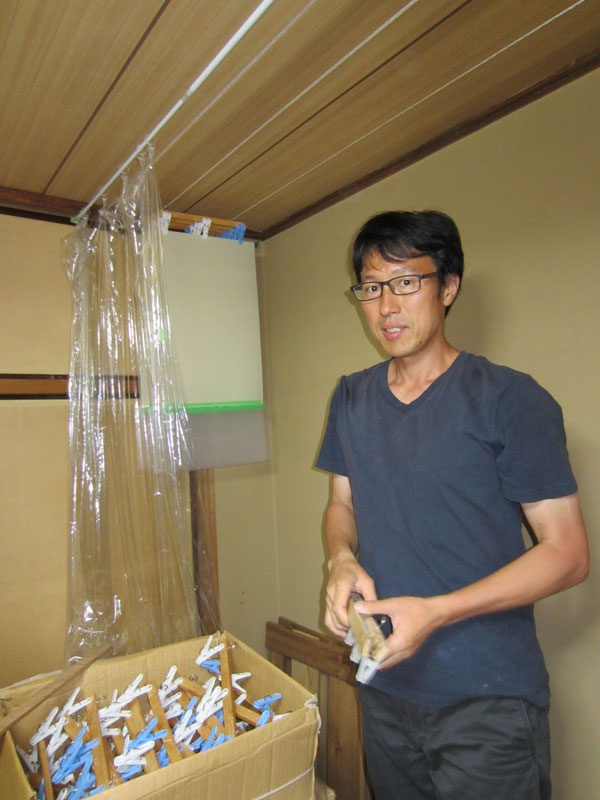
After being sized each sheet of paper will be held by one of these carriers (made from a stick of wood with three clothes pins) while drying on the drying lines.

|
During the sizing process a much larger carrier made of two pieces of wood and six clothes pegs is used to hold the plastic attached to each sheet of unsized paper. There are two of these larger carriers, one for Dave and one for Lee-san.
|
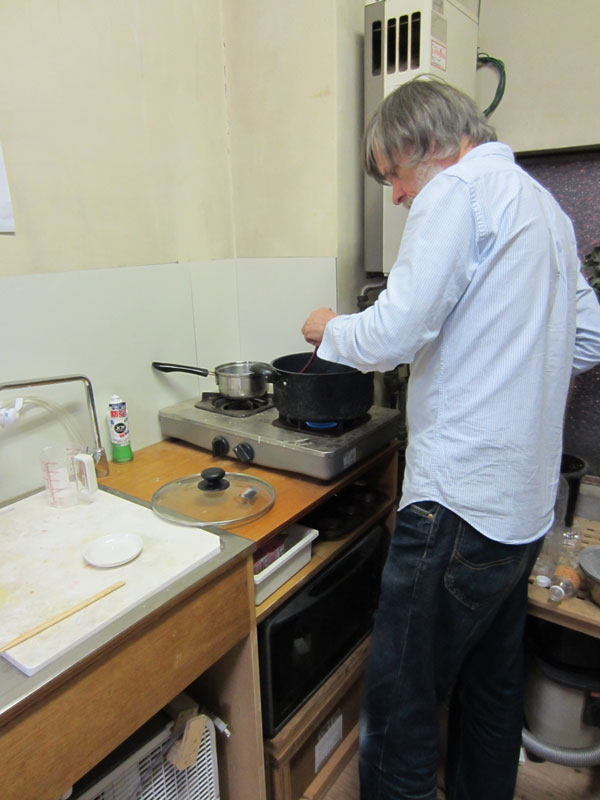
As a first step, Dave mixes and heats the water, the glue, and the alum needed for the size.
|
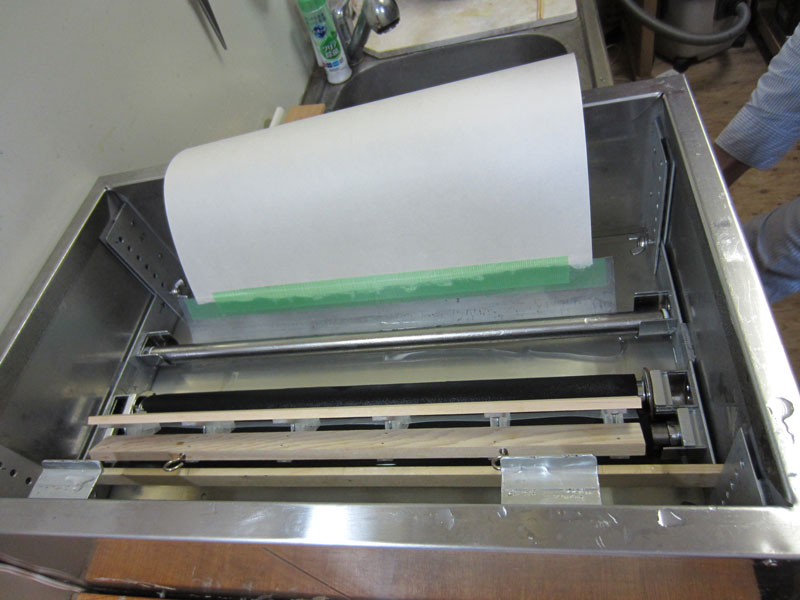
The plastic attached to the sheet of paper is put on the bottom of Mark II containing the prepared size, and the black and metal rollers visible on the upper edge of Mark II are then inserted in their respective slots on top of the plastic, thus locking the plastic into place as shown in the next photograph.
|
Note that at this point only the piece of plastic attached to the sheet of paper is immersed in the size mixture ...
This is a big improvement compared to Mark I. In Mark I the paper itself was immersed in the size before putting the rollers into place, resulting in an uneven coverage because the first part of the paper was exposed longer to the size than the rest of the paper.

|
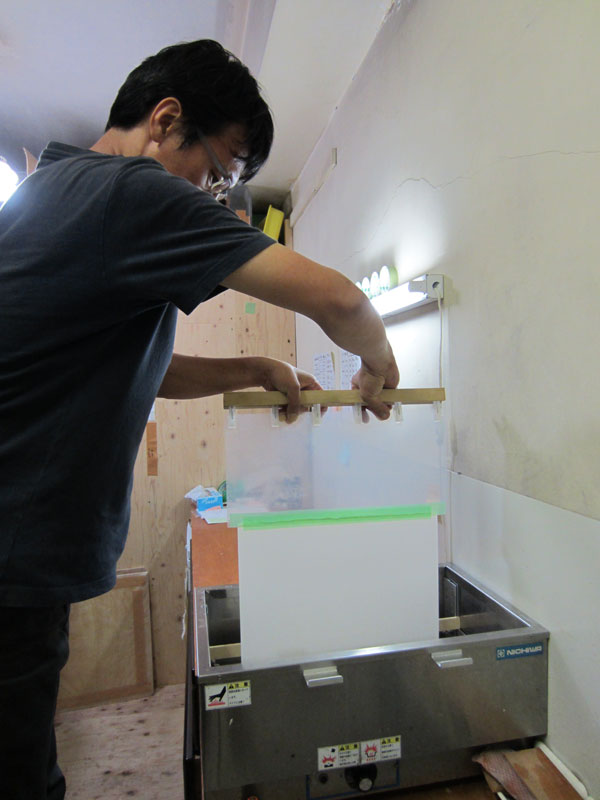
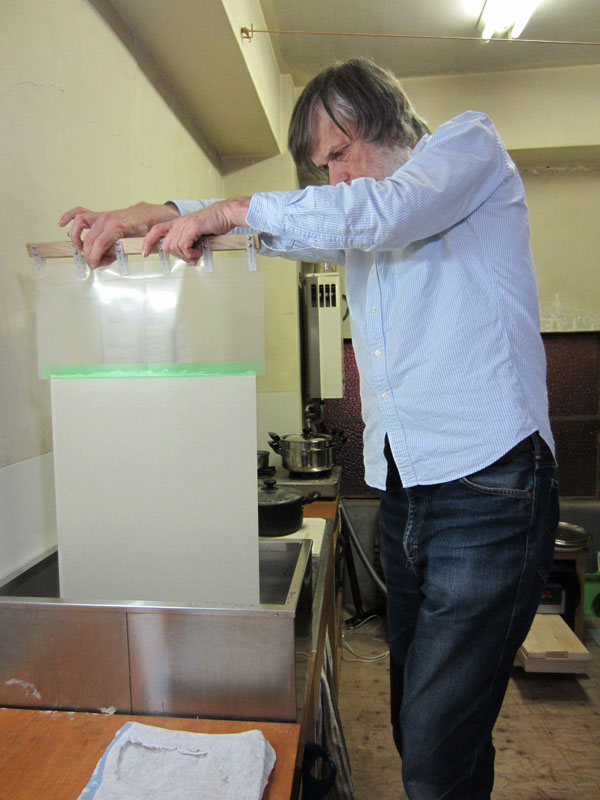
The large wooden carrier is then used to pull the whole sheet of paper through the size on the bottom of Mark II in a smooth and steady movement, leaving an even layer of warm size on both sides of the paper.
|
The smooth and steady pull of the sheet is continued until it has been processed all the way through the rollers of Mark II.
|
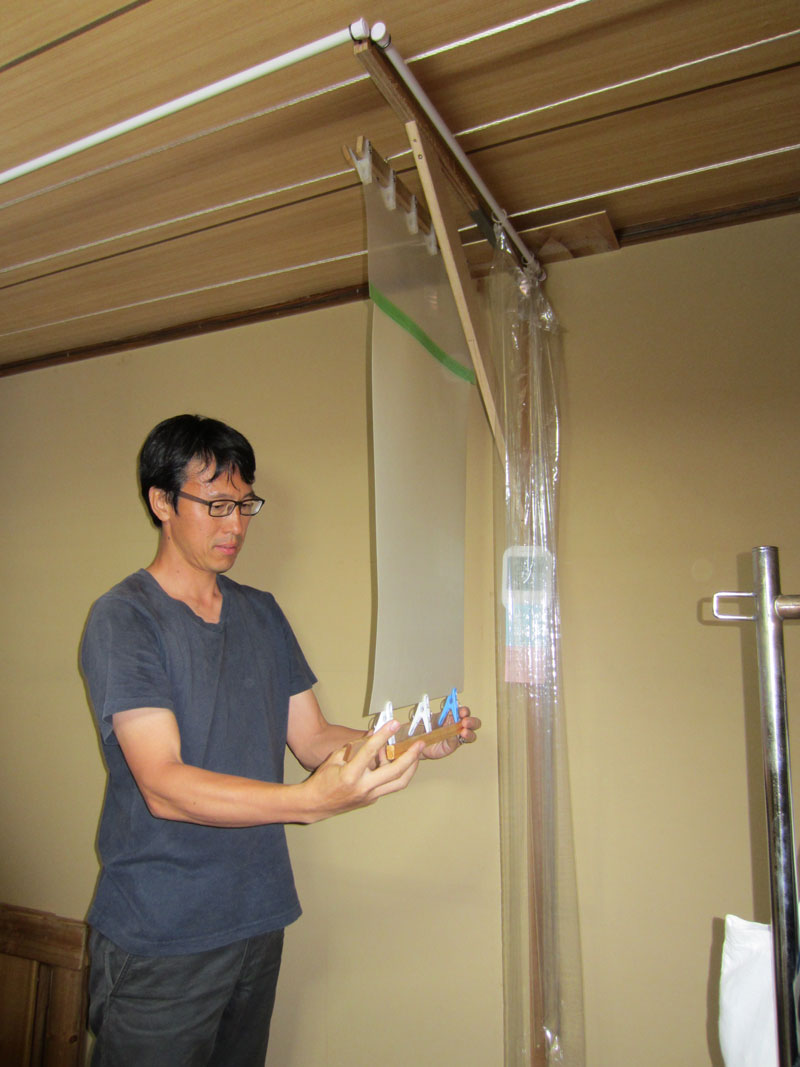
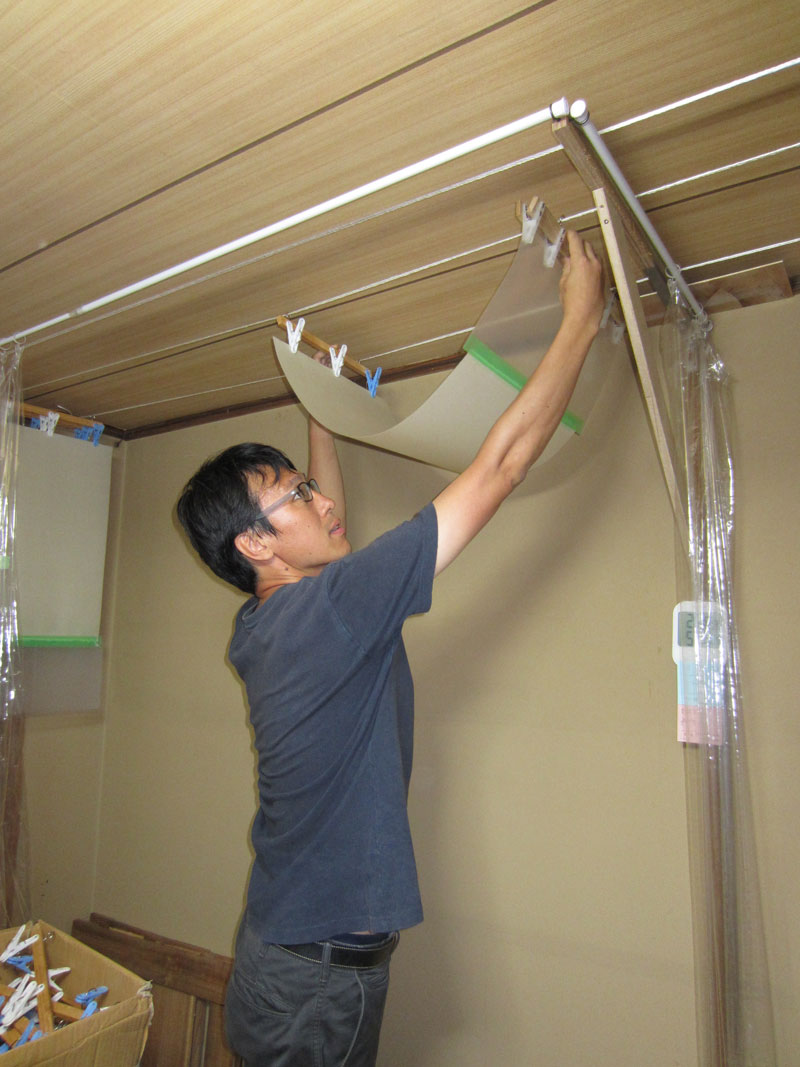
The sheet is then carried to the drying area and hung from the drying lines using the large carrier. One of the smaller carriers mentioned earlier is clipped to the bottom of the sheet.
|
Next the sheet is turned upside down so that the sheet ends up hanging from the drying lines with the smaller carrier. This upside down turning of the paper also has the effect that the size becomes even more evenly spread over the surface of the paper.
|
The large carrier is then unclipped from the plastic at the bottom of the sheet and used to pull the next sheet of washi through Mark II.
|
Dave and Lee-san consistently take turns sizing each sheet of paper in the batch and then hanging it on the drying lines ...
|
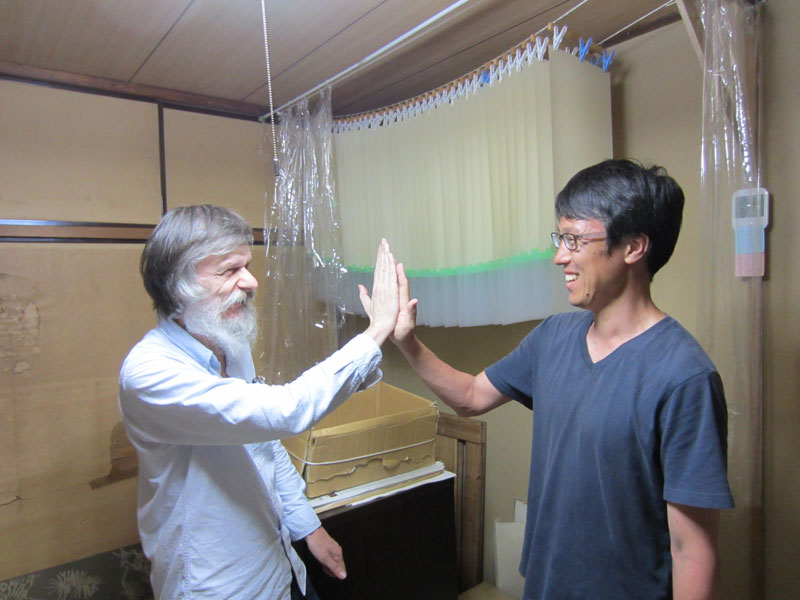
High-five after having sized another batch of thirty-six sheets of washi now ready for printing!
|
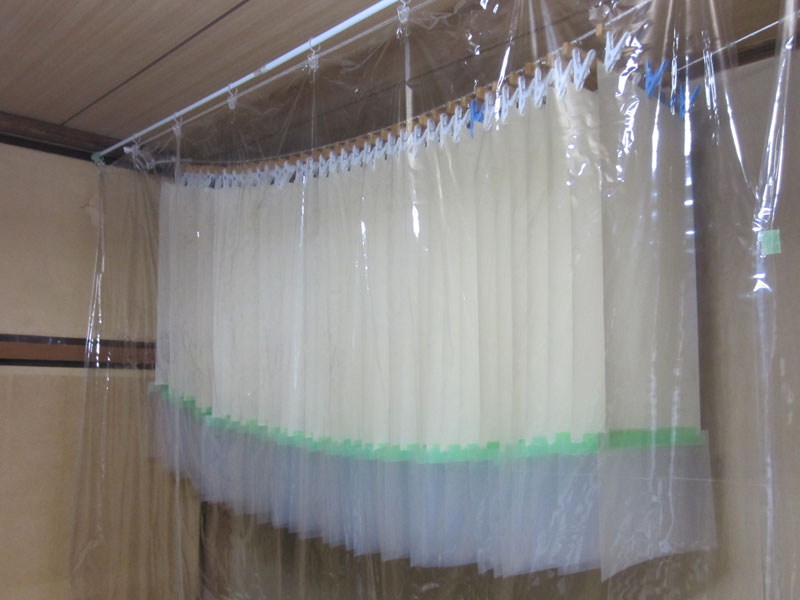
The plastic curtains in the drying area are finally closed to keep the temperature during drying as steady as possible.
Dave told me he is already considering building Mark III allowing him and his staff at Mokuhankan to size even larger sheets of Japanese paper ...